Assembly guide
Assembling your Plywood Rocking Chair
21 slot-together parts in 18 mm birch plywood, assembled in 8 steps. No screws, no tools: fit each part fully into its slots, in order, and every piece locks the one before it.
No tools required
What's in the box
- 2Side panel · rocker + back profile
- 1Centre brace
- 1Footrest panel
- 6Seat rib · curved
- 9Back slat
- 2Armrest board
- 1Cushion · one continuous piece
Before you start
- Clear about 2 × 2 m of floor and lay down a rug or blanket so the edges don't get scratched.
- Lay all parts out and check them against the list above.
- Steps 1–2 are easier with a second pair of hands: one person holds the side panels upright until the centre brace is in.
- No tools are needed. Never use a hammer – it splits the plywood edges.
Step by step
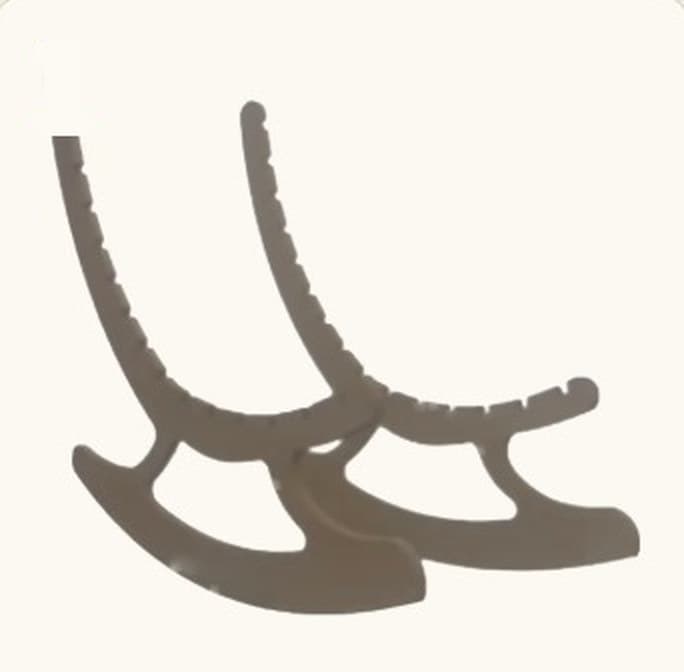
Position the side panels
Stand the two side panels parallel, slotted edges facing inward and the long rocker curves pointing the same way. They don't stand on their own yet – have someone hold them or lean them against a wall.
2 × Side panel
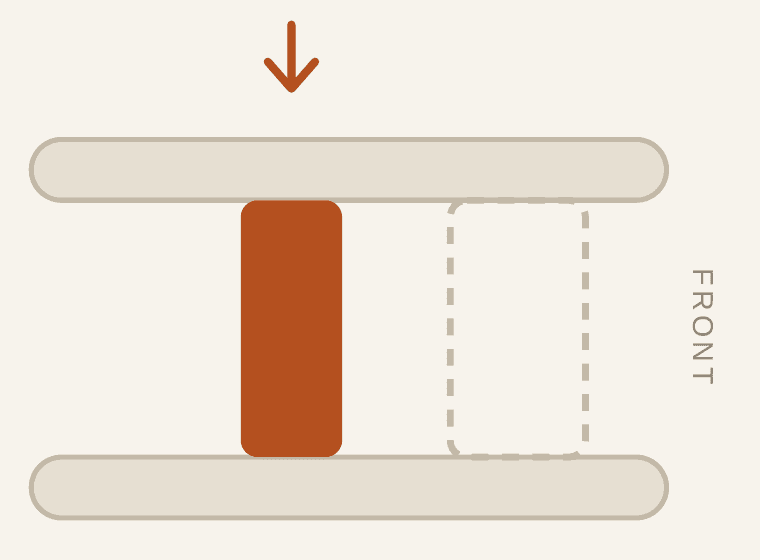
Lock the panels with the centre brace
Slide the centre brace into the slots between the two side panels. This sets the width and holds the frame square for every step that follows. The diagram shows the frame from above; the dashed outline at the front is where the footrest goes.
1 × Centre brace
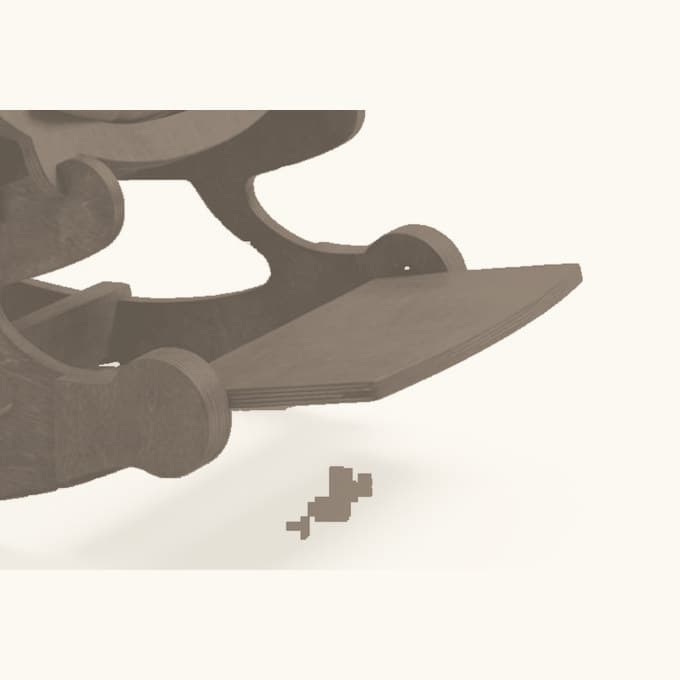
Add the footrest
OptionalSeat the footrest panel between the side panels, in front of the centre brace. Leave it off for a compact chair, or fit it when you want to stretch out – it lifts back out whenever you like.
1 × Footrest panel
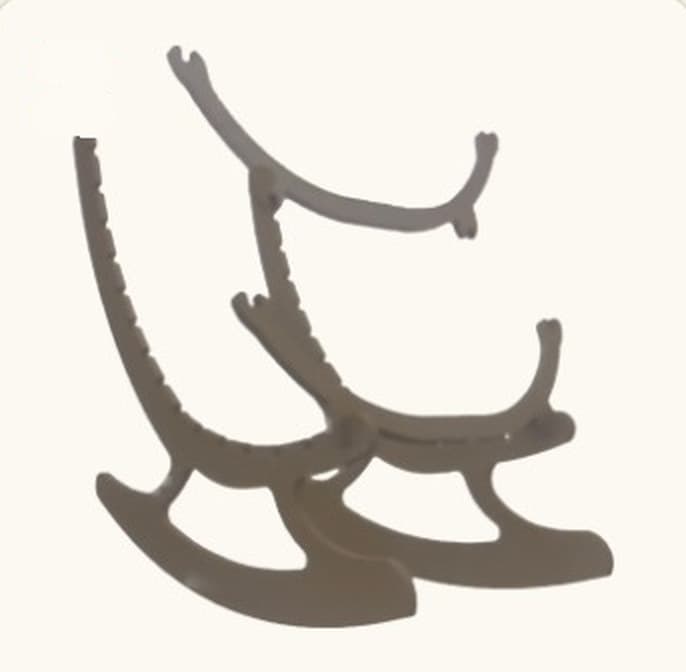
Fit the seat ribs
Lower the 6 curved seat ribs into the slots from above, starting at the front. Each rib drops into a matching slot on both panels. Push both ends down evenly; if one end rides high, lift the rib slightly and seat it again rather than forcing it.
6 × Seat rib
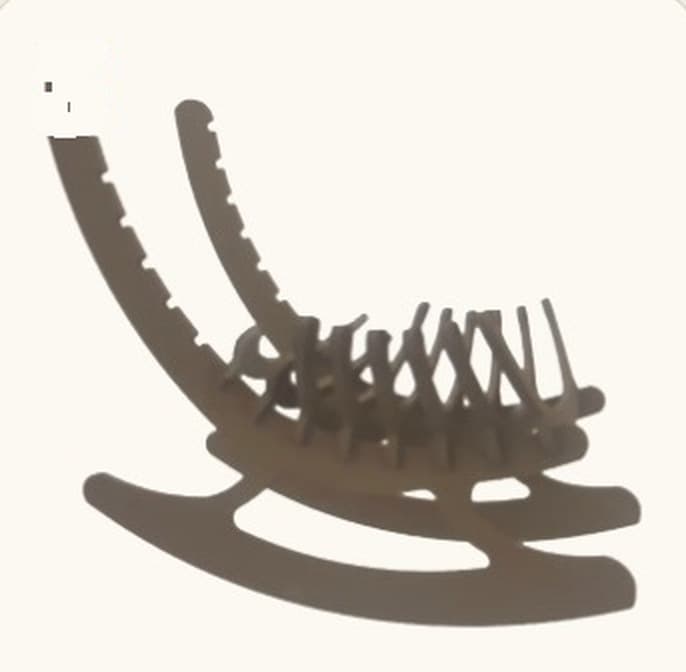
Complete the seat frame
Fit the remaining ribs in order. Together they form the cross-braced lattice that carries the seat. Check that every rib sits flush with the panel edge on both sides before moving on.
Seat rib, continued
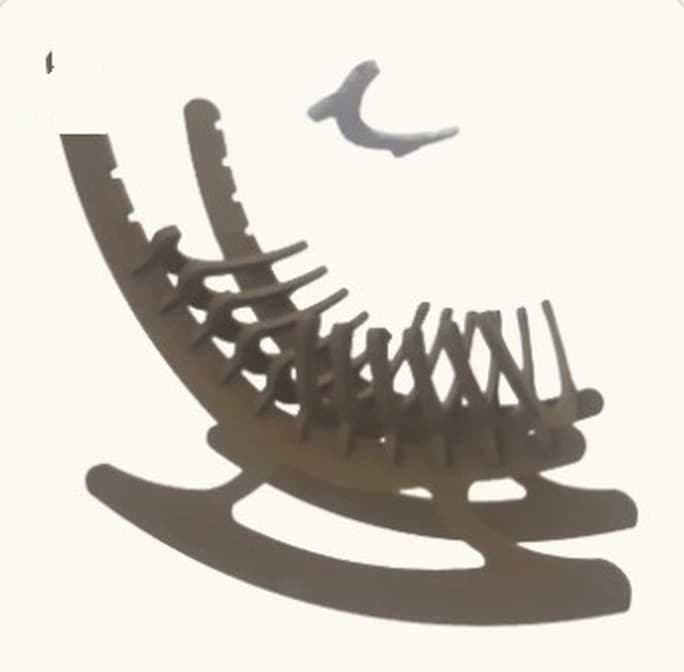
Insert the back slats
Working from the bottom up, slide the 9 back slats into the slots along the inner edge of the panels. Each slat should sit at the same depth on both sides – one that sticks out on one side is usually in the wrong slot or upside down.
9 × Back slat
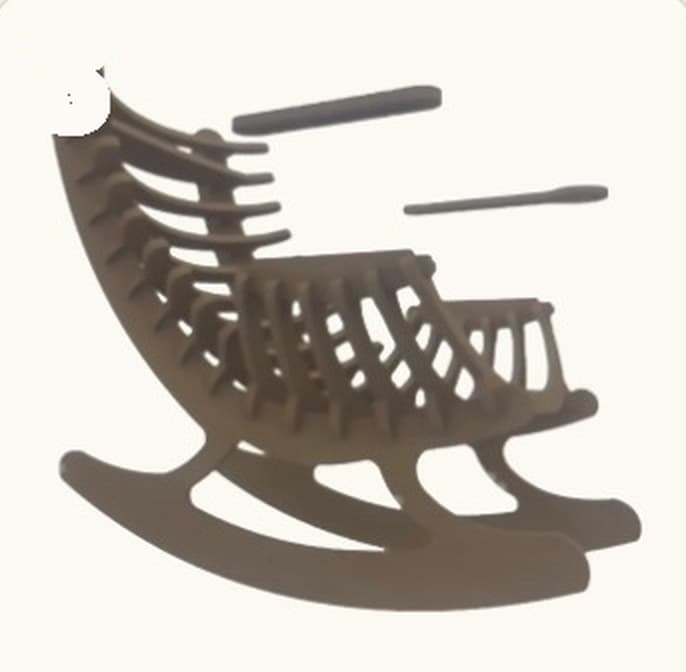
Attach the armrests
Seat the two armrest boards on top of the arm supports. The cup holder sits on the right-hand arm. Press them down with your palms until they lie flat along their whole length.
2 × Armrest board
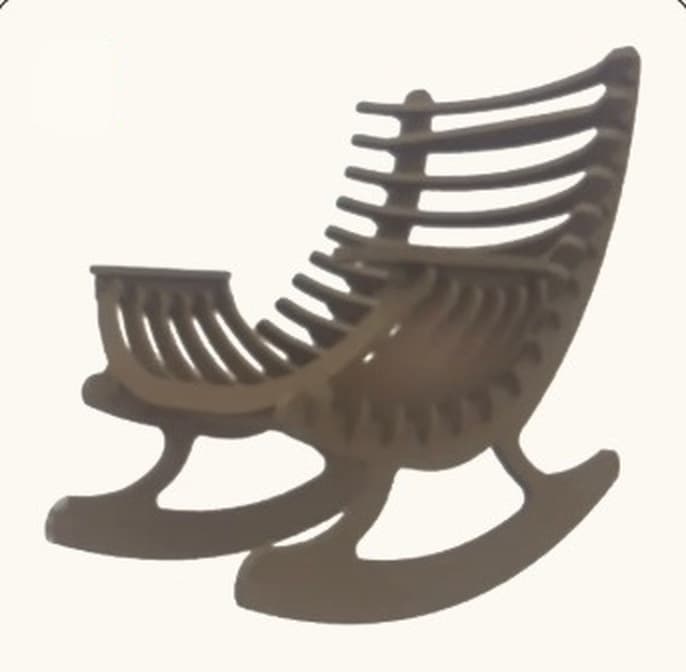
Your chair is ready
Press down gently on the seat and back. Every part should sit fully in its slots with no gap. Add the cushion and enjoy.
1 × Cushion
Stuck?
A rib or slat won't go all the way in
Check it's in the right slot and the right way round: its curve should follow the pieces next to it. Then press down on both ends at once. If it still won't seat, lift it out and try again – don't force it.
The chair clicks or creaks when it rocks
A part is not fully seated. Press down on each joint in turn while someone rocks the chair; the one that moves or clicks is the one to re-seat.
A part won't seat, or one is missing or damaged
Please don't force it, sand the slots or use a hammer. Tell us instead – we'll send a replacement part.
Questions, or a part missing?
Please don't force a part that won't seat – tell us instead and we will send a replacement.
Or message us on Etsy or email info@vilwood.com. We usually reply within 24 hours, Monday to Friday. A photo of the problem helps us answer faster.
Care
- Indoor use only. Keep the chair away from radiators, direct heat and damp rooms.
- Wipe with a dry or slightly damp cloth. Avoid harsh cleaners and standing water.
- Plywood moves a little with the seasons – every few months, press the parts back into their slots.